WESTERN TOP

Wishlist Share
Share Course
Page Link
Share On Social Media

About Course

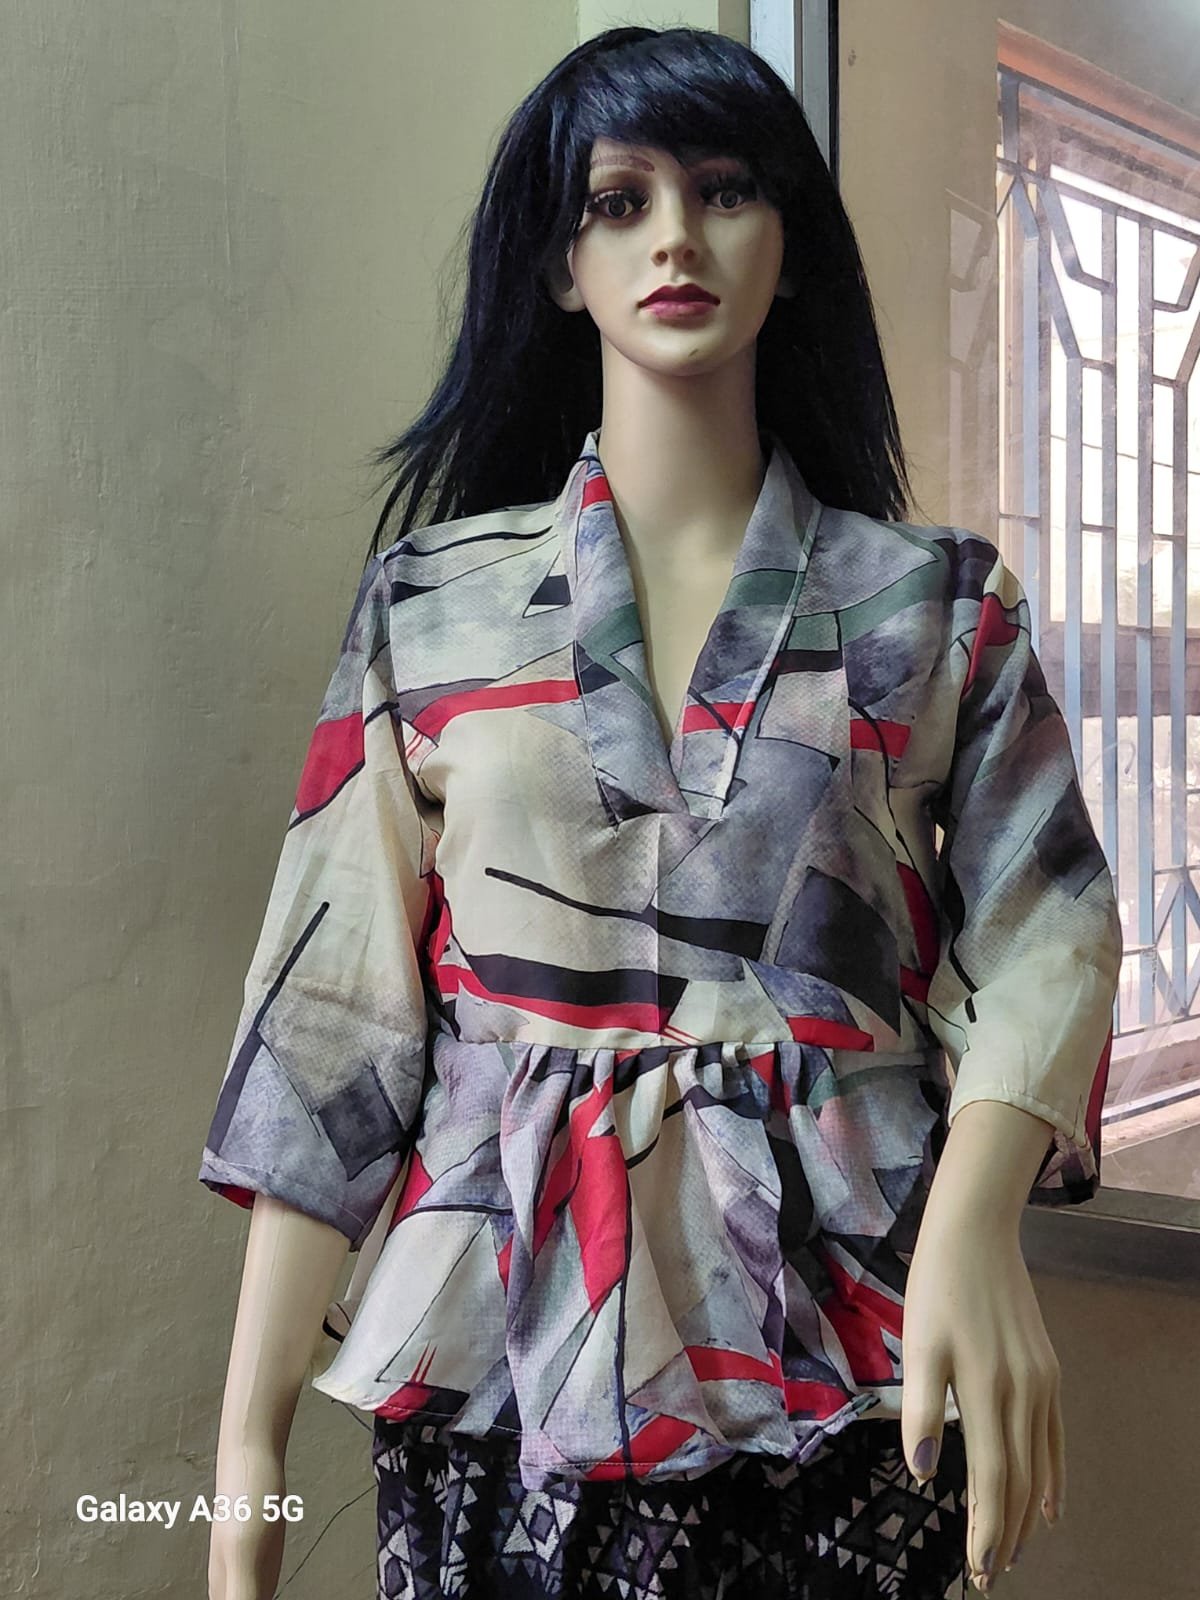
In this module, students will learn the complete process of drafting, cutting, and stitching a perfect Peplum Top. The lesson covers both beginner-friendly and advanced techniques to ensure a clean, professional finish.

You will learn how to take accurate body measurements, draft the basic bodice pattern, and create a beautifully flared peplum that enhances the waistline. The course includes step-by-step guidance on pattern drafting, waist shaping, dart placement, flare calculation, sleeve options, neckline styles, and final finishing.

During stitching, you will work on joining the bodice, attaching the peplum, inserting zips or hooks, adding facings or linings, and giving a perfect topstitch and hemming for a designer look. By the end of the training, students will be able to create a well-fitted, stylish, and fully wearable peplum top suitable for casual and party wear.

Show More

What Will You Learn?

  • How to take accurate body measurements for a perfect fit
  • Step-by-step drafting of the peplum top bodice pattern
  • Drafting different types of peplum: full circle, half circle & gathered
  • Paper cutting techniques for clean and professional patterns
  • Fabric placement and cutting methods
  • Complete stitching process for peplum tops
  • Finishing techniques for neckline, armhole & hemming
  • How to create a designer-style peplum top from start to finish

Course Content

Peplum Top
1. Introduction to Peplum Top Pattern Making Overview of peplum top style and variations Understanding bodice fit and waist shaping Required tools and materials for drafting 📌 2. Taking Accurate Body Measurements Bust, waist, shoulder, armhole, and length measurements How to record and apply measurements on paper Common mistakes to avoid during measurements 📌 3. Drafting the Basic Bodice Block Marking shoulder, neck, bust line, and waistline Drawing front and back armhole curves Creating darts for perfect shaping Adding ease allowance for comfort 📌 4. Drafting the Peplum Pattern Types of peplum: half circle, full circle, layered, and gathered Calculating radius and flare length Dividing waist measurement for accurate flaring Drafting the peplum on paper with correct grainline 📌 5. Adding Seam Allowances & Finishing Lines Seam allowance rules for neckline, armhole, side seams, and hem Marking notches for alignment during stitching Labeling front and back patterns 📌 6. Paper Cutting Techniques How to cut patterns neatly and accurately Maintaining angles, curves, and grainline direction Separating front, back, sleeve, and peplum pieces 📌 7. Pattern Checking & Adjustments Checking pattern symmetry Matching front–back armholes and side seams Making corrections for fitting issues 📌 8. Preparing Pattern for Fabric Cutting Placing pattern pieces on fabric Pinning and marking methods Final checklist before cutting fabric

  • PEPLUM TOP PART 2
    12:00
  • PEPLUM TOP PART 1
    16:00

Student Ratings & Reviews

No Review Yet
No Review Yet
error: Content is protected !!